
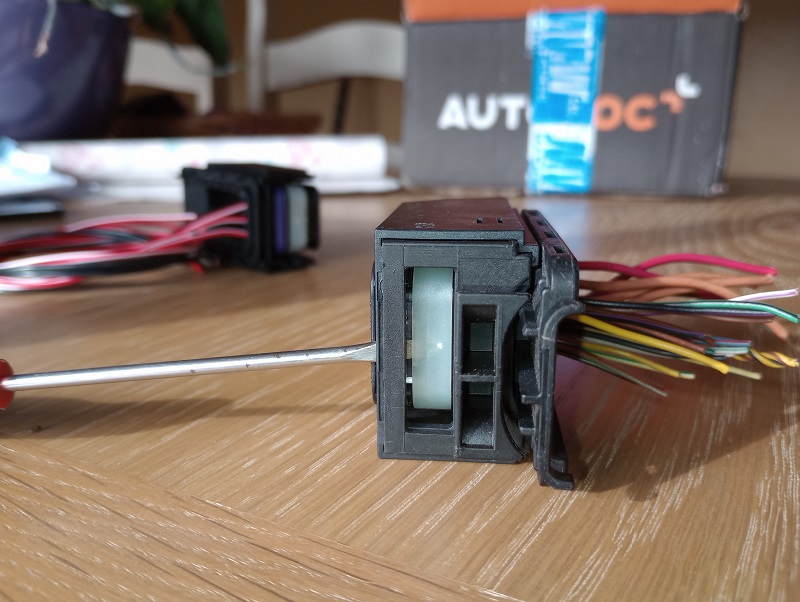
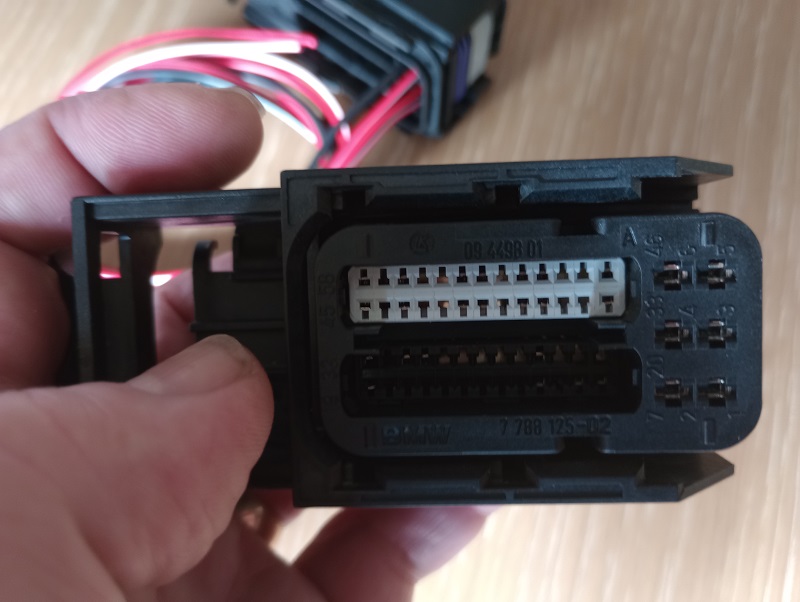
Place with the release latch facing you and ease the white locking mechanism out through the space in the latch.
The locking mechanism can now be slid out of the side of the connector.
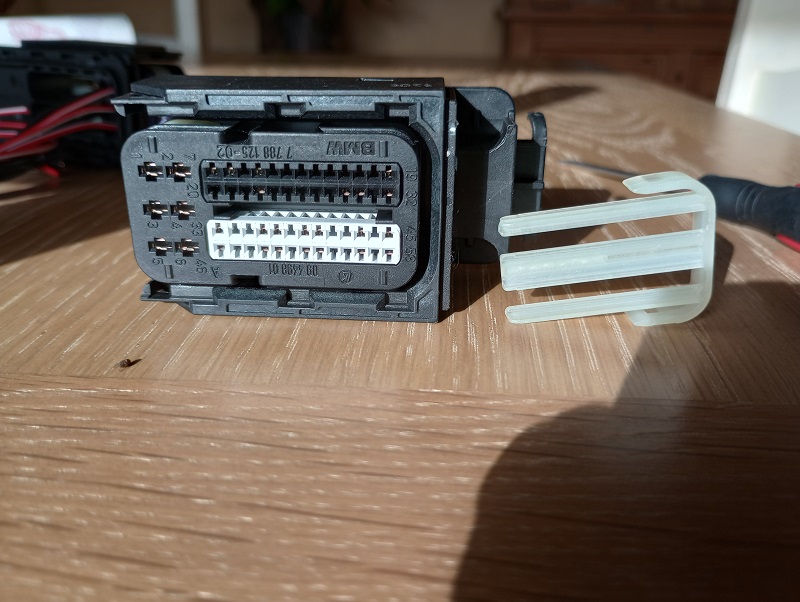
And removed completely.
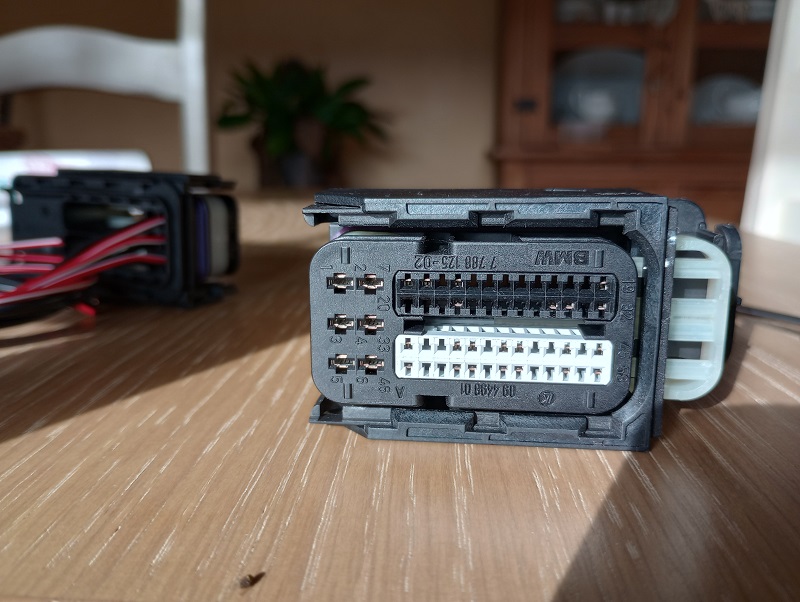
Apply light thumb pressure to the connector blocks from the front side of the connector and they should pop and slide backwards through the connector
As can be seen here
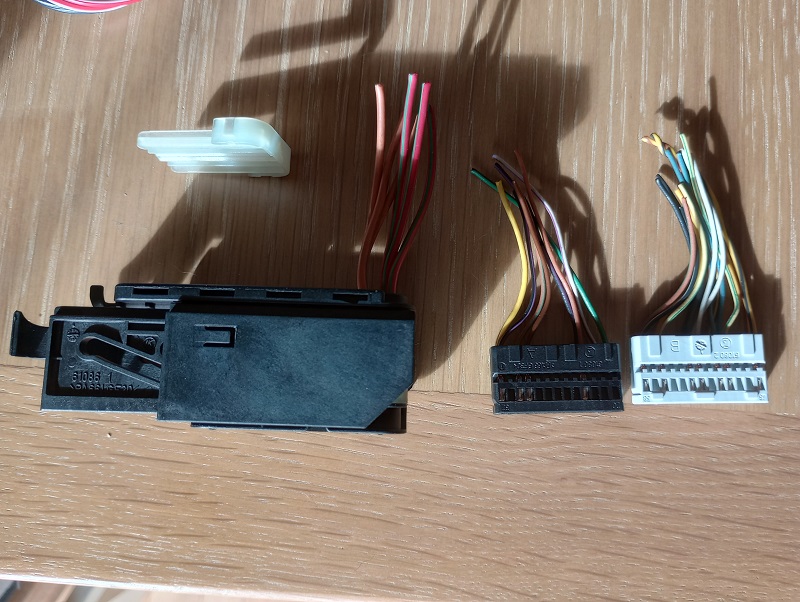
View of the disassembled connector
Re assembly is a direct reversal of the steps of the above procedure.
If wiring in one of our can looms,
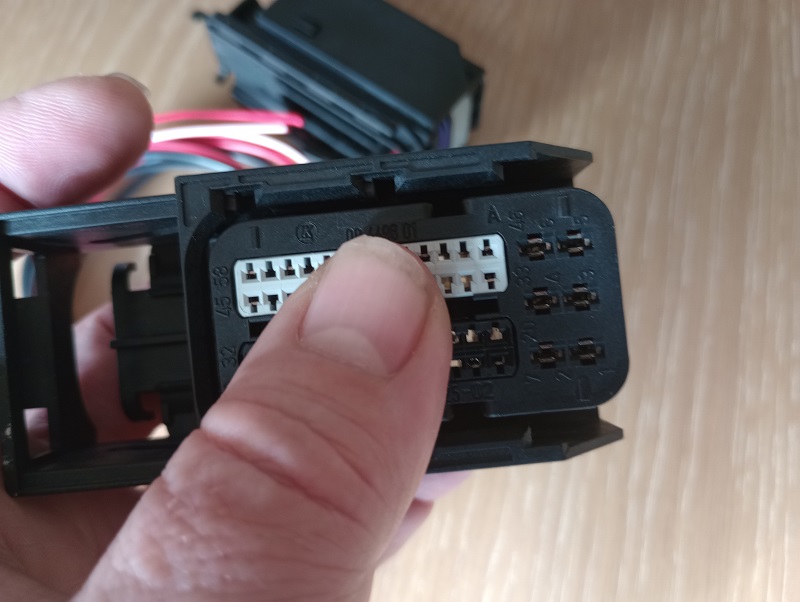
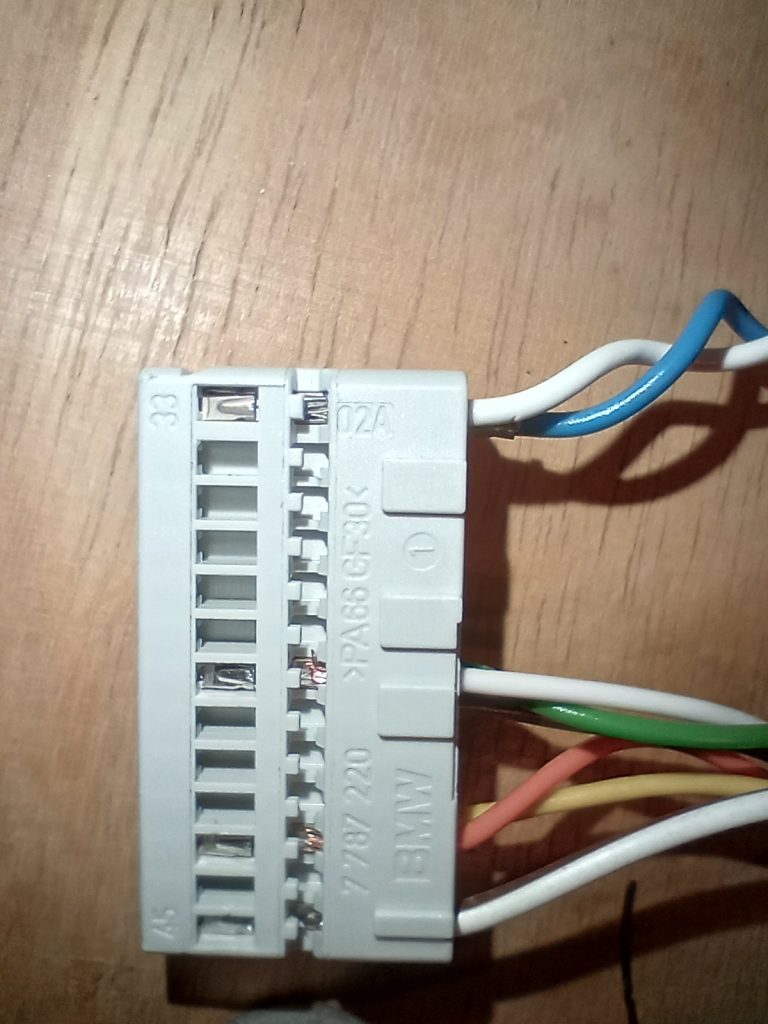
Note the orientation of the connector and push the white wire in to the connector at position of pin 33.
For reference, you can see the pin ID on the connector.
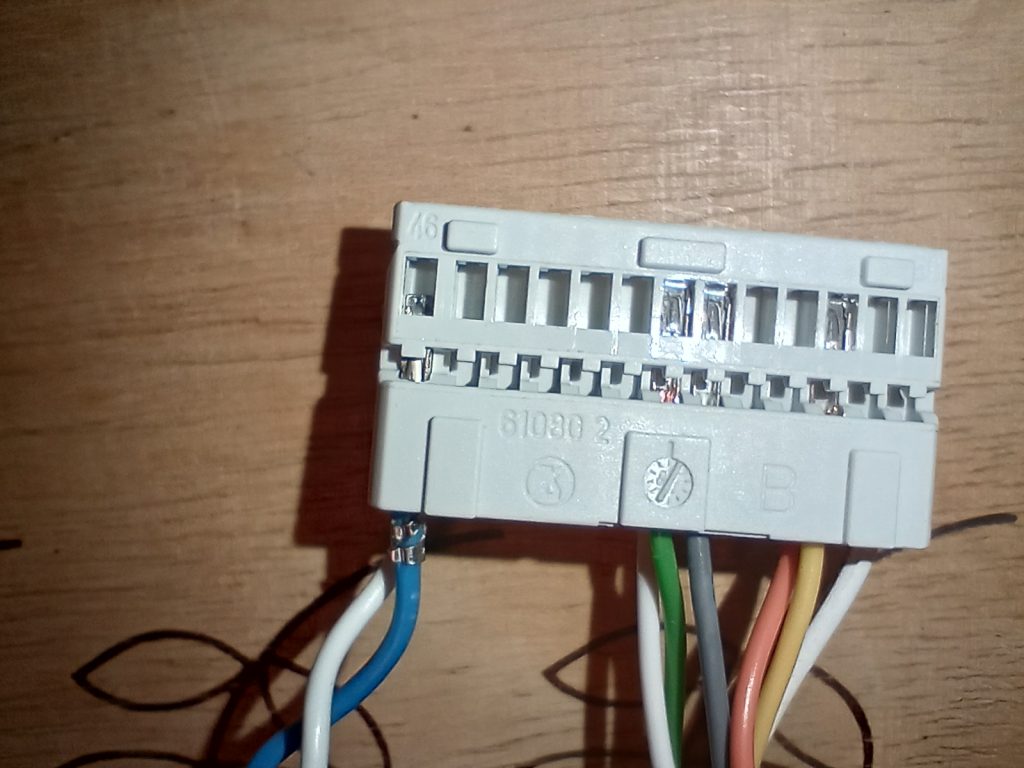
Now do the same for the blue wire at pin 46. Again you can see the pin number identified on the connector.